
Today was a lovely day for a birthday lunch with 'the girls'. One of our friends had her 50th birthday this week, so as is with our tradition of getting together, especially for a milestone, our lunch at a pub overlooking the bay at Sandgate for three or more hours saw us laugh so much our cheeks hurt. There are about ten in our group, and most of us met when our kids were in the same preschool class in 2005. The former 'preschool' kids are now in Grade 7, so I think it's pretty impressive we've managed to maintain our relationship all these years.
As the birthday girl was getting a Chamilla charm bracelet from her hubby for her birthday, we all chipped in and got a bunch of charms for her, one in particular being the 'circle of friends' which has particular significance as we have a candle holder in this design that we light when getting together at each other's house for a coffee (or wine) get-together.
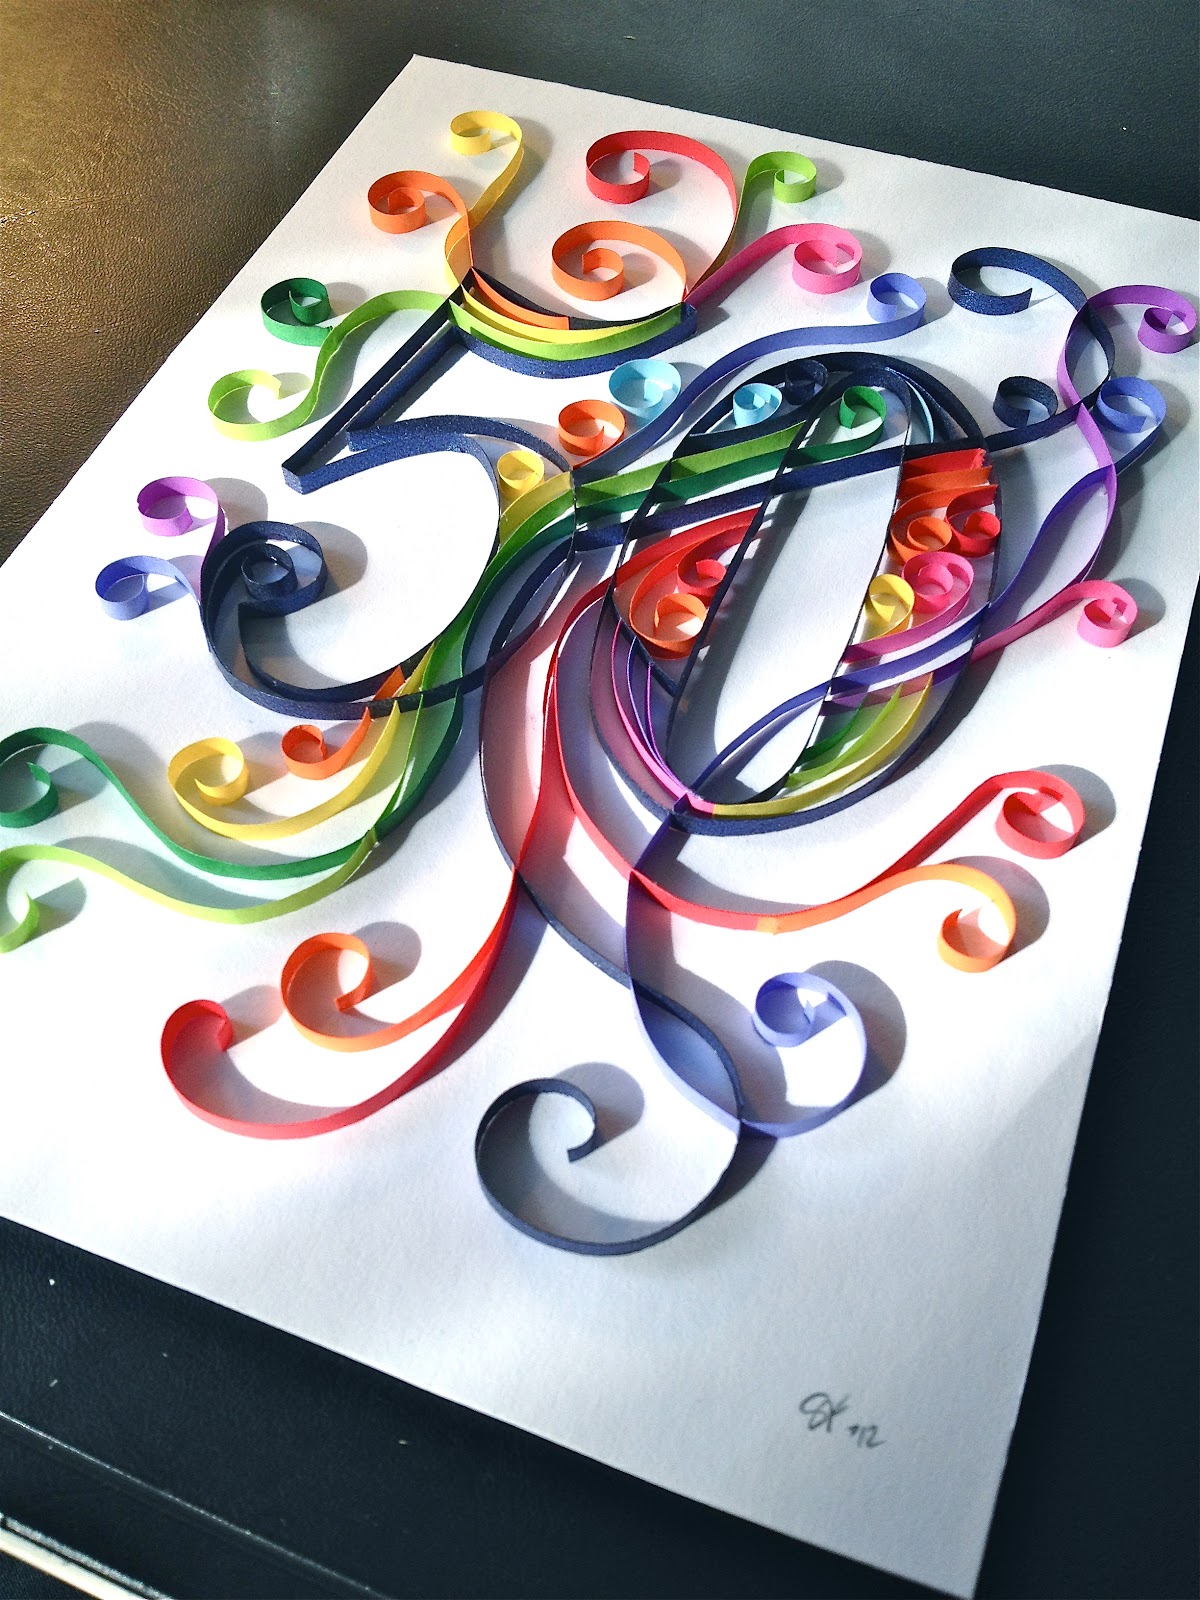
As a surprise treat, I decided to use my newfound quilling skills and make an extra special card for us all the sign. Here's a step-by-step photo gallery of the process...

First the sketch – I cheated and printed an outline of the number '50' – but then pencilled in the design. Once this was done, I traced it again on a new sheet of paper and went over the lines marking what colour was to go where.


(above) The pinning, curling and gluing process. I laid a sheet of baking paper over the pattern (so the glue wouldn't stick to the paper) and then pinned it to a double sheet of corflute. (You could use polystyrene or cork for this process.) Each 3mm strip of coloured paper was curled to shape to match the pattern, and the process took several days as you could only do a little bit and then had to wait for the glue to dry. It was also necessary to use tweezers to place each curled piece into place to check, then carefully use the tiniest bit of PVA glue on the edge (applied with a toothpick) to join it to other the other paper strips. Pins were applied in key strategic points to keep the shape. The trick was to not glue a pin to the paper strip (which was something I found out later after I tried to remove it from the board as one piece!).


(above and closeup) Next the design had to be inverted, and then pinned to polystyrene so the head of the pins were below the edge of the paper strips. PVA glue was applied very carefully to the top edges of the paper, and then an A5 piece of card was placed onto the glued edges and carefully lifted away the pinned sheet. I found this process wasn't 100% successful as the pins caught on some of the strips and didn't stick, so some tricky spot gluing was required on the final card in places. I think next time I attempt something like this I might not do such a large area at one time.
I saw this 'reverse' process of making monogram letters on You Tube (see video above), but in hindsight, I'd have to get a lot better at my gluing before I could do it this way first go, as I did get the odd blob of glue run down onto the baking paper in the initial assembly (which would've then been on the final 'top' of the paper if I'd only used this reverse method. Maybe as I get to be more of a gluing master I can use this 'shortcut'.


I then made a paper frame (using the same method as this birthday quilling project for another friend last weekend), and got a plate holder from the discount shop to display it on.

To finish the piece, a little card pocket was added to the back of the frame where a card was slipped in that we could all sign... the birthday girl was chuffed! Very happy with the result, and one of the other girls (who has her 50th in September) has already put in her order for one... :)
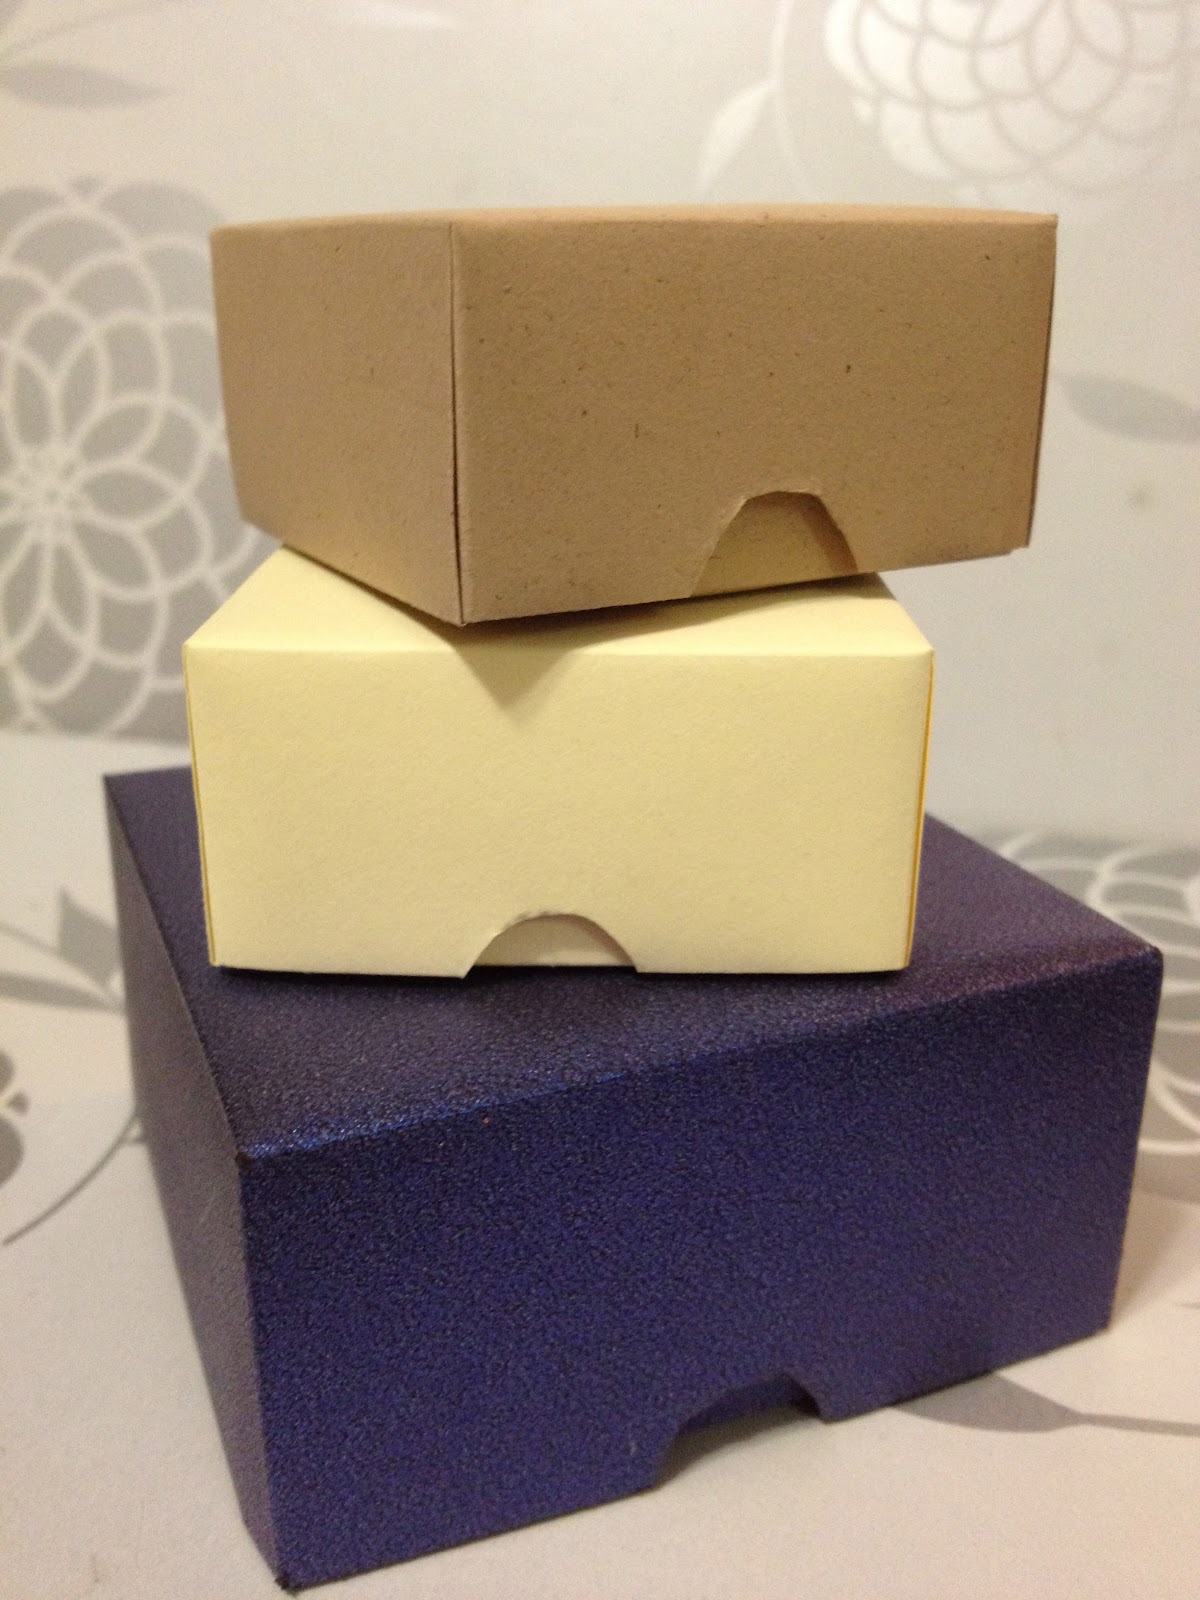
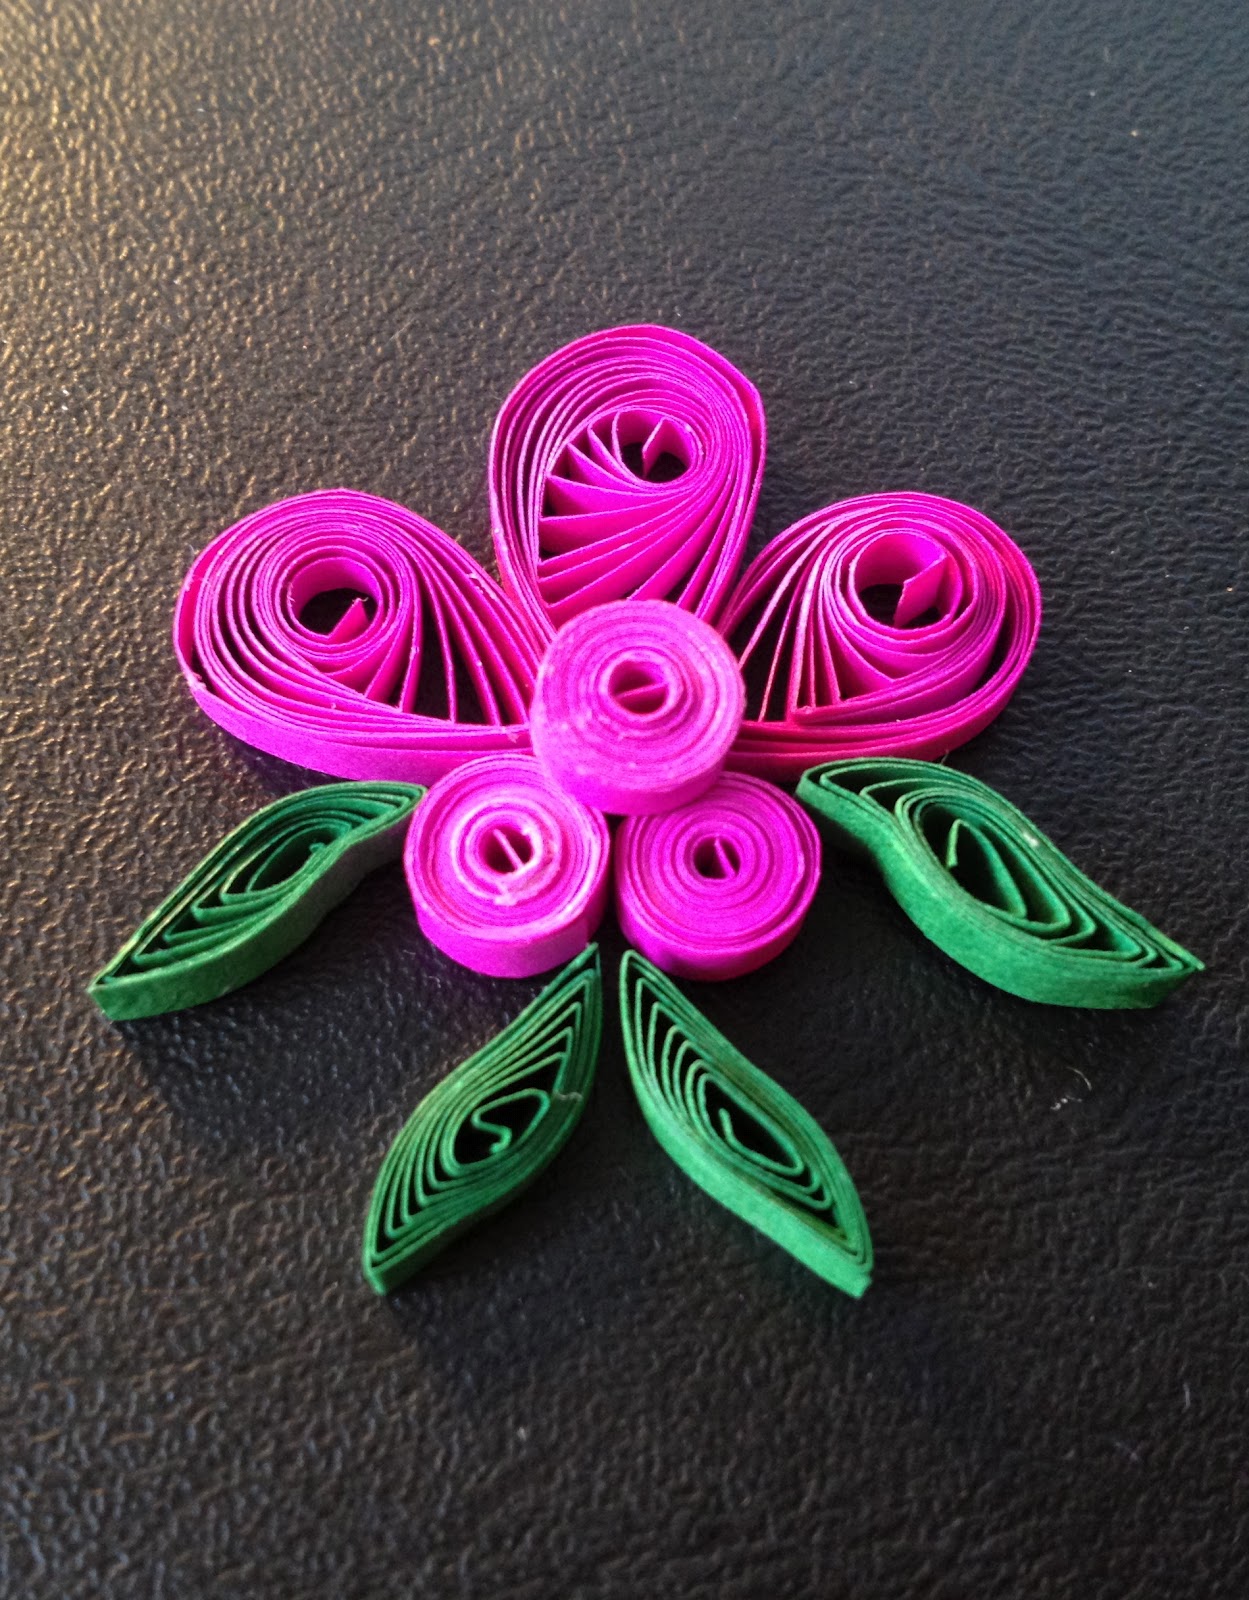
I also decided to make a little paper box to put the charms in, and added a dainty quilled flower and ribbon - Cute!

No comments:
Post a Comment
Got a comment? Well, leave it here...